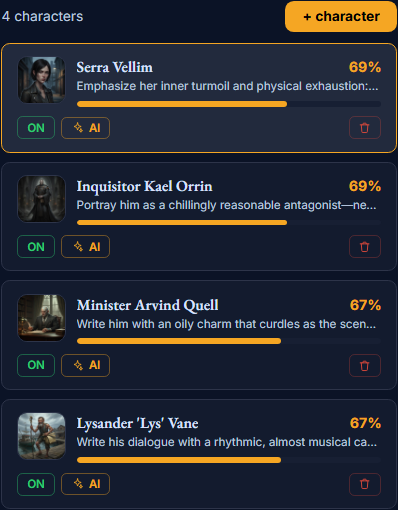
The Characters page
The Characters page is the first sub-step of building your world — this is where your cast lives. Add the people who populate the book, see each one’s completeness at a glance, and open any of them to edit their profile. You need at least two characters (and one location) to move on; everything past that is up to you.
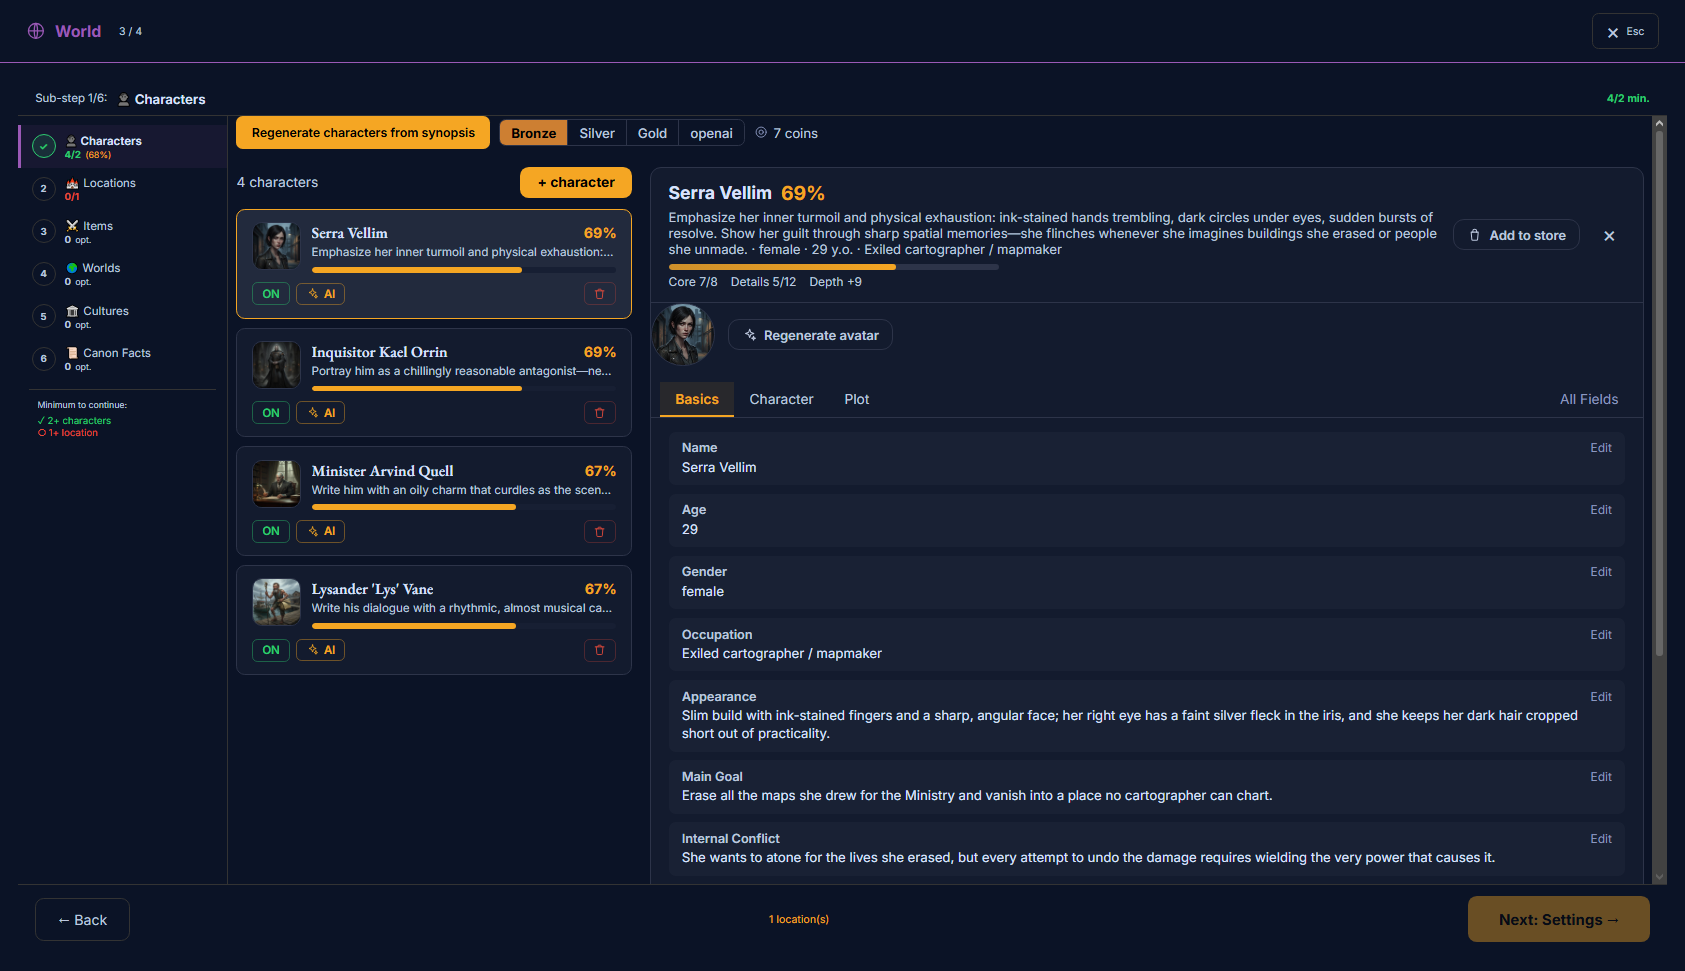
What’s on this page
- Your cast — a card per character with its completeness %, an on/off switch, an AI badge, and delete.
- Four ways to add a character (below): by hand, the whole cast from your synopsis, one with AI, or from the Store.
- A profile on the right — tabs plus “All Fields”, an avatar you can regenerate, and “Add to store”.
- The sub-step rail (Characters · Locations · Items · Worlds · Cultures · Canon Facts) and a “Minimum to continue”.
How to use it
- 1Add at least two characters — use whichever method suits you (see below).
- 2Open each one and fill the core fields; you don’t have to fill everything.
- 3Mark your leads as POV characters, then move on to Locations.
You don’t have to fill everything
A character has many fields, but you never have to fill them all. A name, a look, an occupation, a main goal and a flaw are already enough to write a believable person. The completeness percentage (and the Core / Details / Depth read-out) is a guide, not a target — it simply rewards filling the high-impact fields first.
Four ways to add a character
You can build your cast however you like — mix and match these:
By hand
The whole cast, from your synopsis
One character, with AI
From the Store
Three of these live behind the “+ character” button, which opens a small menu:
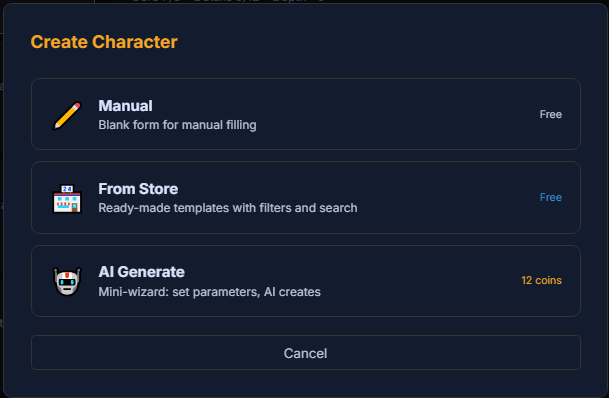
The AI character wizard
Choosing AI Generate opens a short wizard — you set a few parameters and the AI drafts the character, which you preview before adding.
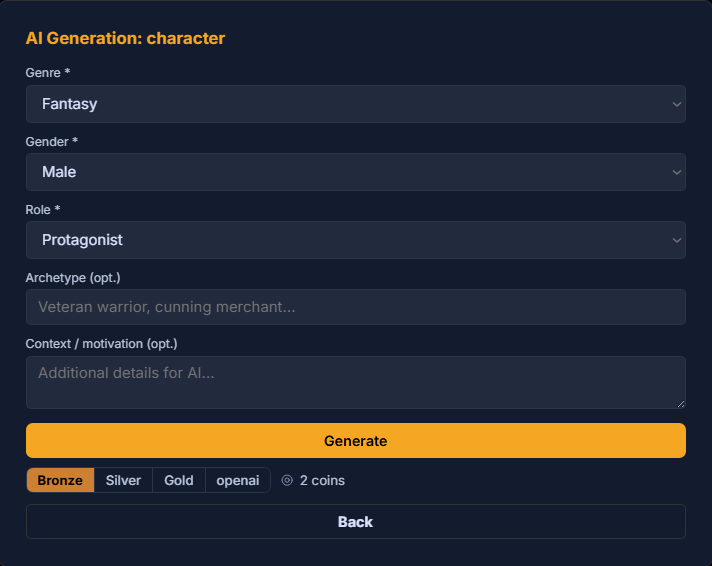
- Genre * — the world the character belongs to (defaults to your book’s genre).
- Gender * — male, female, or other.
- Role * — their part in the story — protagonist, antagonist, mentor, and so on.
- Archetype (optional) — a shorthand to shape them — e.g. “veteran warrior, cunning merchant”.
- Context / motivation (optional) — any extra details for the AI to work from.
The three starred fields are required; the two below them are optional. A quality tier(Bronze · Silver · Gold) and its coin cost sit under the Generate button before you commit — or run it on your own key (BYOK). When it finishes you get a preview: keep it with Add to project, try again with Regenerate, or step Back. Nothing is added until you accept it.
Improve a character with AI
Once a character exists, the ✦ AI button on its card fleshes it out — one click, and the AI fills in and deepens the profile from what you’ve already written, keeping your own details as the basis. It’s the quickest way to turn a sparse character into a full one.
The cast list & sub-steps
Characters are sub-step 1 of 6. Locations, Items, Worlds, Cultures and Canon Facts follow — only Characters and Locations have a minimum (2+ characters and 1+ location); the rest are optional. When you meet the minimum, you can move on.
Each character is a card with its completeness %, an on/off switch (turn a character off to keep it in the project but out of the writing), the ✦ AI improve button (above), and delete. Select a card to edit its profile on the right, regenerate its avatar, or Add to store to share it.